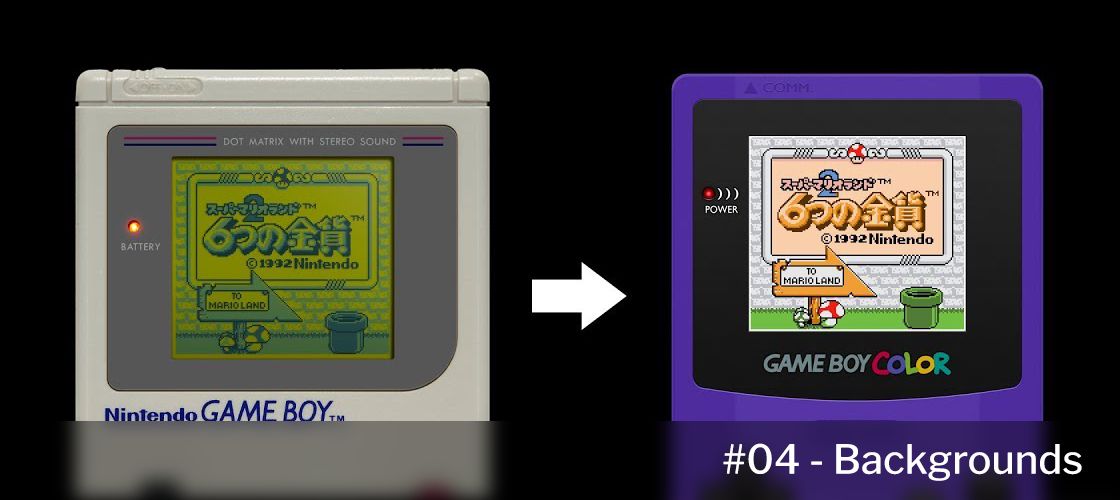
With our sprites now beautifully colorized, it's finally time to focus on what will make our colorization really shine — backgrounds. In this entry, we'll try to get the backgrounds as close to the final look as possible.
Planning our approach
At first glance, it may seem that coloring the backgrounds is as simple as applying the attributes we want to the BG Map. While technically correct, achieving great results usually demands additional work, such as editing graphics, adding new ones, and adjusting level layouts.
Unfortunately, what we learn in this lesson won't be universally applicable, since the best strategy for applying BG attributes depends heavily on the type of game we are colorizing, the original code, and the desired result. For instance, a static puzzle game may not require intercepting the background printing routine, while action games most likely will.
That said, the general process remains clear: locate the background data and understand how it's rendered on the screen, then adapt or introduce new code to incorporate the desired attributes into the BG Map.
In our case, we'll take a straightforward approach: locate the routine responsible for printing the background to the screen, duplicate it, and adjust it to add our BG attributes. Keep in mind that this might not always be the most efficient way to do it (although we can always enable double speed mode).
Locating the Background Printing Routine
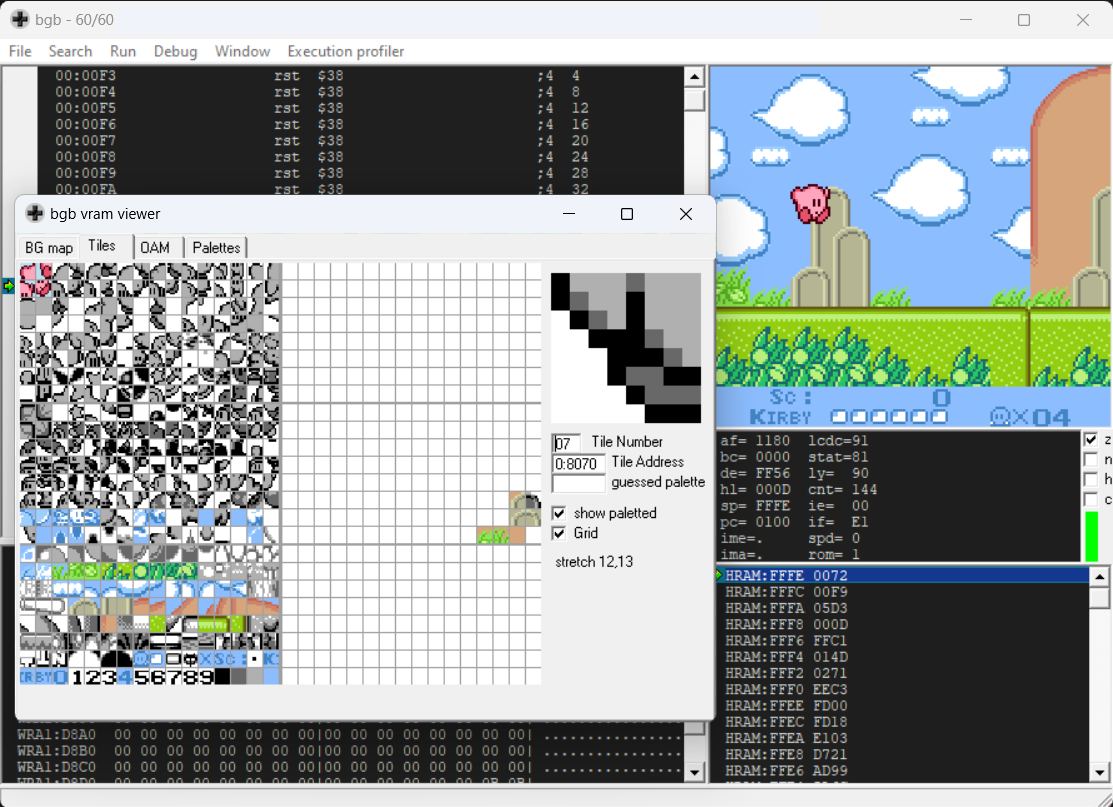
To find our routine, we'll set a write breakpoint where a new column or line will start to be drawn as we move. In this case, that would be $9816. After some analysis, we'll identify the desired routine located at $1EEB-$1F06:
 PrintBG:
	ld bc,$CB00	; BG Map data (pointer followed by block tile data)
  @Loop:
	ld a,(bc)	; BG Map destination high byte (for this block)
	inc bc
	ld h,a
	and a
	ret z		; If it's zero, we're done
	ld a,(bc)	; BG Map destination low byte (for this block)
	inc bc
	ld l,a

	ld a,(bc)
	inc bc
	ldi (hl),a
	ld a,(bc)
	inc bc
	ld (hl),a
	ld a,(bc)
	inc bc
	ld de,$001F	; Goes to the next line
	add hl,de
	ldi (hl),a
	ld a,(bc)
	inc bc
	ld (hl),a
	jr @Loop
This can be very different from game to game, but the process is always the same: set a breakpoint and trace the code until we find the routine we want.
Adding custom attributes
Looking at the code above, we notice that the data is already stored at $CB00 sequentially. The first two bytes point to the BG Map destination, while the following bytes represent the tile data (2x2 tile blocks). We'll replicate this process, but instead of just copying the data, we'll fetch values from a BG Map attributes table previously stored in RAM.
For this, the tile value serves as the low byte, and a fixed value (>ATTR_MAP) as the high byte. Take a close look at this code:
.BANK 0 SLOT 0
.ORG $1EEB
.SECTION "Background printing routine Hook" OVERWRITE
	ld bc,$CB00	; BG Map data (pointer followed by block tile data)
	jp PrintBG
.ENDS
.SECTION "Background printing routine" FREE
 PrintBG:
	@Loop:
	ld a,(bc)	; BG Map destination high byte (for this block)
	inc bc
	ld h,a
	and a
	jr z,PrintBGAttributes

	ld a,(bc)	; BG Map destination low byte (for this block)
	inc bc
	ld l,a
	ld a,(bc)
	inc bc
	ldi (hl),a
	ld a,(bc)
	inc bc
	ld (hl),a
	ld a,(bc)
	inc bc
	ld de,$001F	; Goes to the next line
	add hl,de
	ldi (hl),a
	ld a,(bc)
	inc bc
	ld (hl),a
	jr @Loop

 PrintBGAttributes:
	SETVRAM 1
	ld bc,$CB00

	@Loop:
	ld a,(bc)	; BG Map destination high byte (for this block)
	inc bc
	ld h,a
	and a
	jr z,@Exit

	ld a,(bc)	; BG Map destination low byte (for this block)
	inc bc
	ld l,a
	ld a,(bc)
	inc bc
	call GetAttr
	ldi (hl),a
	ld a,(bc)
	inc bc
	call GetAttr
	ld (hl),a
	ld a,(bc)
	inc bc
	ld de,$001F	; Goes to the next line
	add hl,de
	call GetAttr
	ldi (hl),a
	ld a,(bc)
	inc bc
	call GetAttr
	ld (hl),a
	jr @Loop

	@Exit:
	SETVRAM 0
	ret

 GetAttr:
	push bc
	ld b,>ATTR_MAP
	ld c,a
	ld a,(bc)
	pop bc

	push af
	WAITBLANK
	pop af
	ret
.ENDS
To insert this code into our ROM, we'll only need a couple of things: to define the macro SETVRAM, which you can find in the previous code, and define ATTR_MAP as an empty region in RAM (for example, $D800).
If we do it and run the game, we'll see... nothing new, actually. This is because we haven't populated ATTR_MAP yet. To see some changes, we can go to $D800 (or the chosen address) in our debugger and write some values. The result should resemble this:
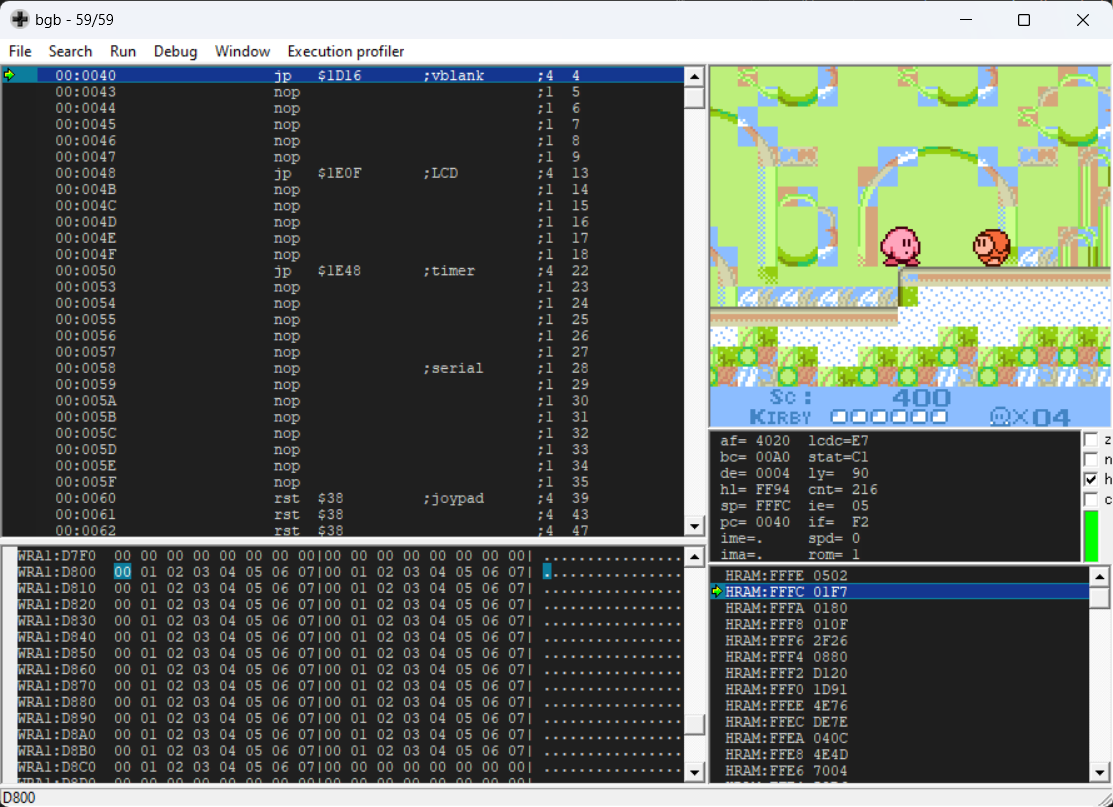
Look at that! Of course, we'll need to populate that table at various points in the game depending on how complex we want our colorization to be.
For now, we can just initialize the table with some values and see how it looks in the game.
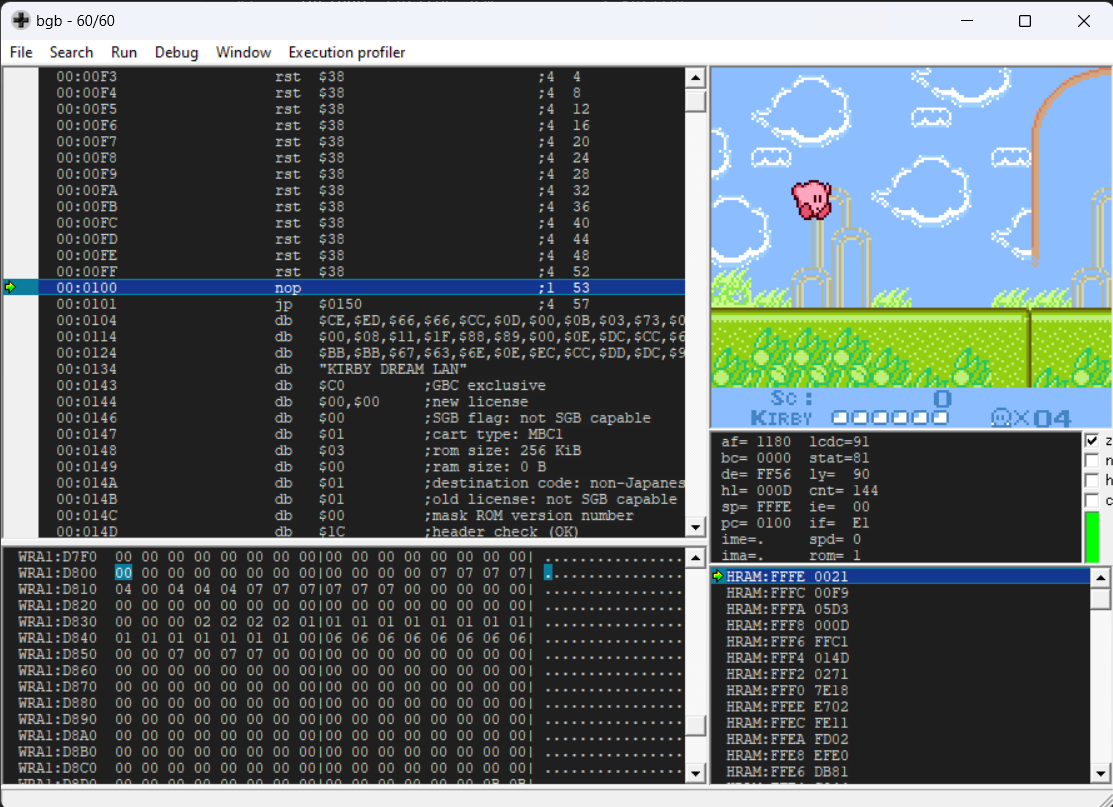
Everything seems to be looking good, but there's still some work to be done.
Editing the graphics and levels
Regarding graphics editing there is not much to comment on, but it's very likely we'll have to do it to make them look good with the new palettes. That's right — I strongly recommend adapting the graphics to the new palettes and not the other way around, otherwise you will surely struggle to reuse them later on.
In our particular case, graphics need recompression and some pointers need to be updated, but as it's already been mentioned that's beyond the scope of this tutorial. For those interested, you can check the source code below.
With our graphics edited, backgrounds should look like this:
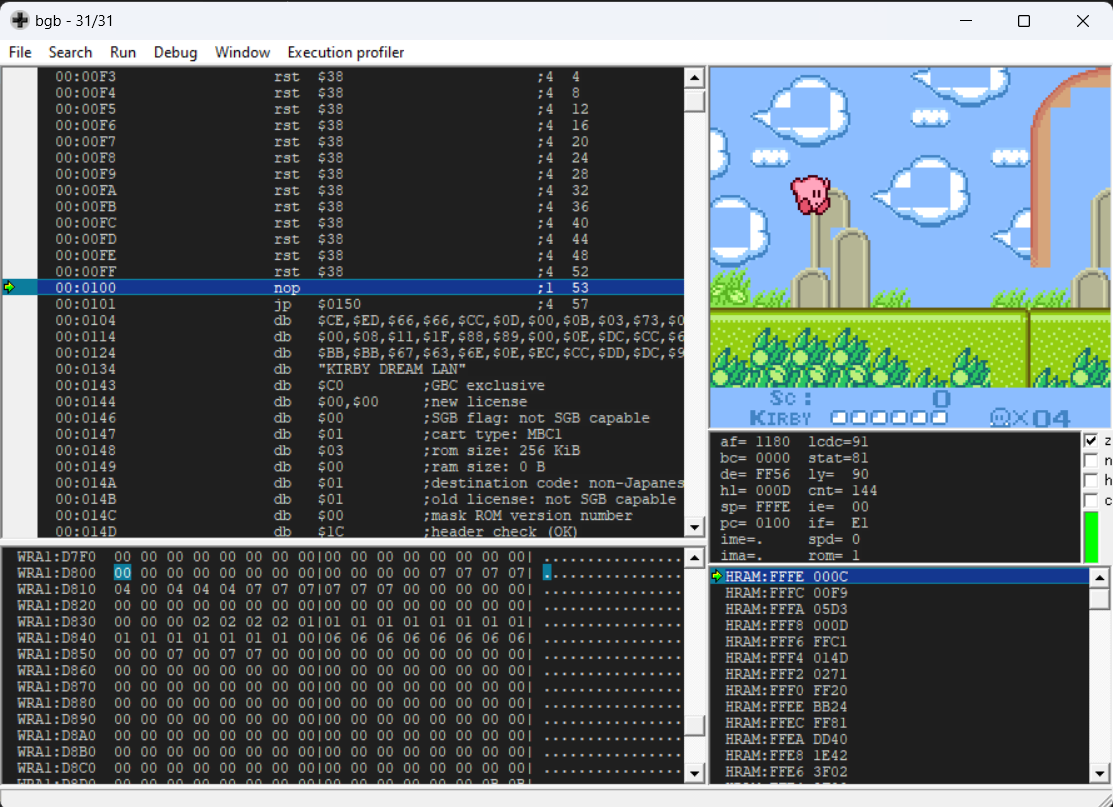
Of course, in the original game, the sky is no different from the inside of a cloud or mountain (as they share the same tiles), the corners of the stone poles can have the wrong background color, etc. so we'll have to change either the printed tiles or attributes in these areas.
There are different ways to go about it, but I still recommend following our strategy of maintaining a 1:1 relation between tiles and attributes, editing the level layout a bit to have a unique cloud tile, mountain tile, and so on. Don't worry about VRAM space; by assigning appropriate attributes to tiles normally used by sprites, we can utilize custom graphics loaded in VRAM1.
While each game will require investigation into how this is done, a common practice for storing level map is to have consecutive level blocks (2x2 tiles) that compose the level map. This is how Kirby's Dream Land does it, just with the data being compressed.
So in our case we'll have to decompress the data, edit it, compress it again, insert it somewhere and change the pointers to it.
And that's it! We'll deal with the HUD later, but as you can see now we have a much closer-to-final look.
As you might have noticed, some of the steps in this entry are very game specific so I didn't go into much detail about how to do them. Still, I hope this gives you a good idea of what to do and why it's important to edit a bit more than just the attributes. If you're interested in the specifics of Kirby's Dream Land, you can check the source code below.
In the next entry, we'll take a look at how to implement some effects like fade-ins and fade-outs.
Check out the code so far in GitHub