How to colorize Game Boy games — Loading custom palettes
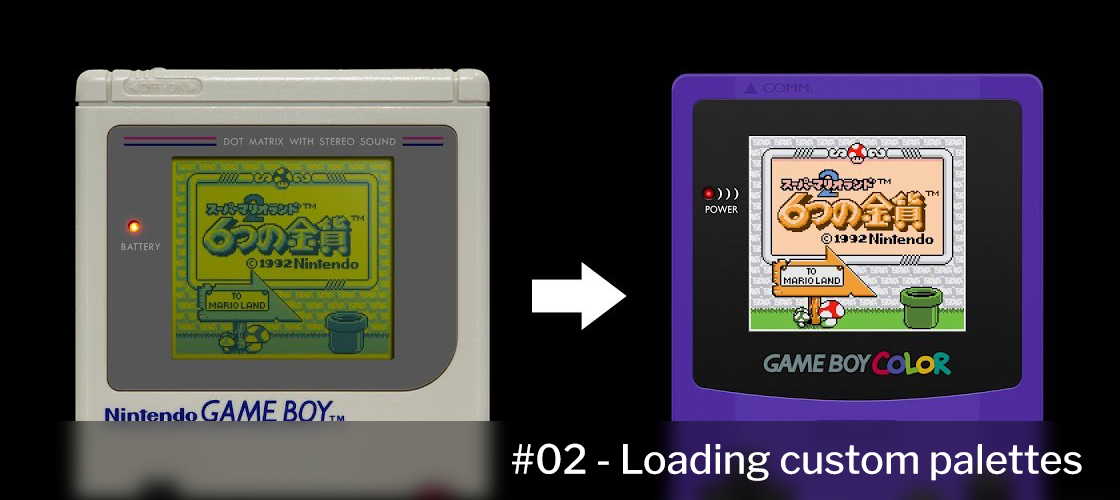
In the previous entry, we went over the first steps to set the stage and start our colorization. This time we'll take a look at the chosen game, Kirby's Dream Land, and try to determine the overall complexity of the project.
We'll have to take into consideration questions such as whether the graphics are compressed, how much free space do we have in the ROM and, in later entries, if the sprites require more work than usual.
With this insight in hand, we'll finally be able to get into action and load custom palettes that we'll later use to colorize different metasprites.
Allocating free space
If you've ever wondered why these types of mods are called romhacks, well, it's because they involve modifying an already compiled binary file (ROM). We won't have a blank canvas to work with, and instead we have to adapt to the constraints of our base ROM and hack it by intercepting certain routines so it does what we need it to do.
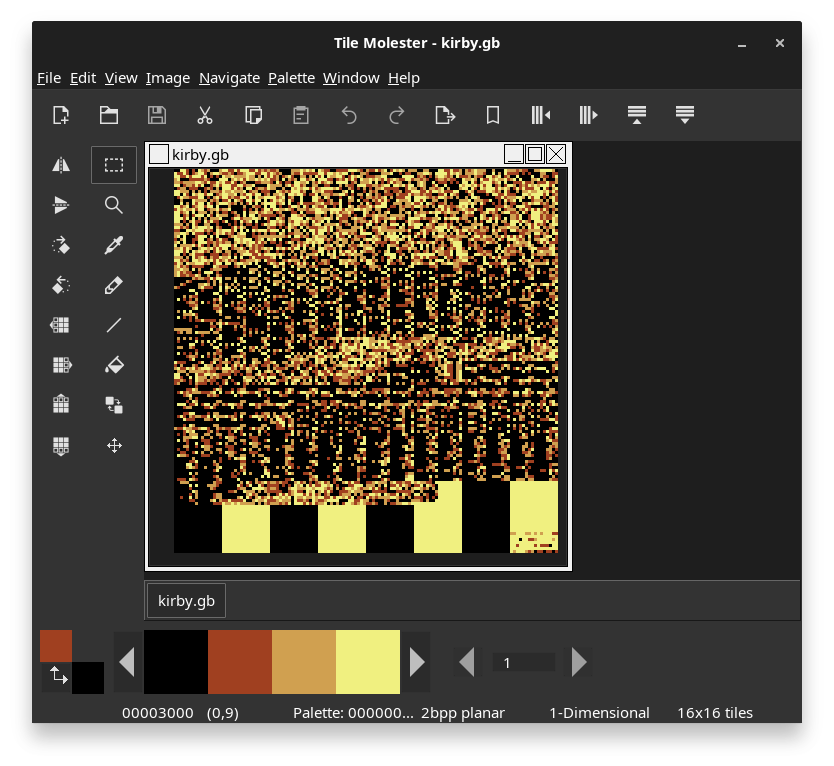
Therefore, the very first thing we'll do is to find out how much free space we have to work with (we will expand the ROM later, if needed). To do that, we should open our ROM in an hex editor, such as HxD, and a graphical editor, such as Tile Molester, just to take a general look at the contents of the game.
As you should know by now, the Game Boy maps $8000 bytes of ROM into memory at a time, with the last $4000 bytes being swappable with the bank switching registers. We'll need to inject code in several banks, so we need to know how much free space we have in each of them. It's specially important to know how much free space we have in Bank 0, since it's always available and should hold the most commonly executed code.
If we take a look at the contents at the end of each bank (right before $4000, $8000, $C000, $10000...) we'll see that there's empty space represented by alternating FFs and 00s. This is the free space we'll use to inject our code. Sharp readers may have noticed that some of these values were already correctly mapped in our code in the previous entry using WLA-DX's .UNBACKGROUND instruction.
If you don't have enough space in Bank 0, things are a bit more complicated, as you'll have to move some relocatable code or data to a different bank and make sure it's always called correctly. This is not a problem per se, but it's a bit more advanced and can lead to crashes.
Also note that sometimes the free space will be filled with compiler garbage or random values and will not be so easily identifiable. There are multiple ways to determine what is free space in these cases: comparing the ROM with a different revision of the game, setting breakpoints in the code to see if it's ever executed or read, or, the cleanest one, actually analyzing the code.
Something you might find useful for these issues, and for the whole project in general, is to have the whole ROM disassembled to quickly search for label and call repetition. I personally use WLAD, WLA-DX's disassembly tool (no longer supported), as it does exactly what I need.
I won't go into much detail about this as it goes beyond the scope of this tutorial, but if you need to do it, try to search for every call and/or read in the memory range you are reallocating.
Understanding the scope
Each Game Boy game is a unique challenge, and some may have specific quirks or compression methods that make them poor candidates for learning. If you run into one of these problems you may be tempted to switch games, and it might make sense to do so while learning, but keep in mind that most games will have some pitfalls. Overcoming those obstacles is what will make you a better romhacker in the end.
That said, we'll focus on a couple of aspects of Kirby's Dream Land to determine if this will be an easy colorization or not.
First, we'll check the way the graphics are stored. For this, take your favorite Game Boy emulator/debugger (I personally use BGB) and take a look at the VRAM Tile Data.
Here we find our first problem. If we copy the first tile data ($8000-$800F) and search for it in our hex editor, we'll see that this particular hex sequence is not present in our ROM. This means that the graphics are either compressed or stored in an unconventional format, so we need to set breakpoints and analyze the code to find out exactly what's happening.
 DecompressGFX:				; $20DA
	ld a,e
	ld (wCompressedGfxOrigin),a	; wCompressedGfxOrigin = $D097
	ld a,d
	ld (wCompressedGfxDest),a	; wCompressedGfxDest = $D098
  @NextBlock:
	ld a,(hl)			;
	cp $FF				;
	ret z				; Checks if we reached the end of the block

	and $E0
	; ...
After checking the code for a bit, I found that there is a graphics decompression routine located at $20DA. This makes things slightly harder, but we'll worry about this later. After a quick Google search, I found that someone has already researched the format, and has a tool to de/compress the graphics, so for the moment we don't have to worry too much about this.
I might write about how to reverse engineer a compression routine in the future, but for now I'm deliberately not getting too much into it.
First hooks
After that very long (and necessary) lead-in, we can finally get down to the code. By this point, we should have an environment set up for compiling a GBC ROM. However, if we play it, we'll notice that all backgrounds are white, and the sprites have random colors.
To solve this, let's try to find a good candidate for our hook and initialize the palettes. I'll first look before the first graphics in VRAM Tile Data are written.
Setting a write breakpoint in $8000 leads to the previously mentioned decompression routine, which we know will read data until a $FF is found, that we can then trace back to $4C49. After a read breakpoint, we finally found the code that writes the initial graphics:
	ld hl,$4b3a		; Decompresses the data located at 5:$4B3A
	ld de,$dc00		; to $DC00
	call $20da		;
	ret
If we go one level higher, we can see that this is literally the very beginning of the execution. Not all games work the same and in my experience it's often quicker to follow this path.
WaitVBlank:
	ldh a,($44)
	cp 145		; Waits for the current scanline to be outside the screen
	jr c,WaitVBlank

	xor a
	ldh (<LCDC),a
	di
	ld sp,$FFFE

	ld a,$05
	ld (wCurrentBank),a
	ld (CHANGE_BANK),a

	call $4AD6	; Clears and initializes relevant memory values
	call $4ABE	; Writes the OAM DMA routine to HRAM
	call $193B	; To be analyzed
	call $21BB	; More relevant memory values initialization
	call $4B30	; Our previous routine to decompress data

	; ...
Since we have plenty of room in Bank 5, we can simply replace the call to $4b30 with our own code (DxInit). This will be our first hook, and we'll use it to initialize the palettes.
.BANK $05 SLOT 1
.SECTION "Init" FREE
 DxInit:
	push hl
	ld hl,InitBGPal
	call SET_BGPAL
	ld hl,InitOBJPal
	call SET_OBJPAL
	pop hl
	call $4b30		; Replaced code
	ret
 InitBGPal:
	.db $FF,$7F,$5A,$6B,$D6,$5A,$00,$00,$FF,$7F,$76,$53,$4F,$37,$00,$00,$FF,$7F,$53,$73,$2D,$6A,$00,$00
 InitOBJPal:
	.db $FF,$7F,$9F,$76,$DE,$71,$00,$00,$77,$77,$FF,$7F,$2D,$6A,$00,$00,$77,$77,$FF,$7F,$7B,$0E,$00,$00
.ENDS

.BANK 0 SLOT 0
.SECTION "BasicFunctions" FREE
 ; **SET BACKGROUND PALETTES**
 ; Writes $40 bytes located at HL to the BG Palette.
 SET_BGPAL:
	ld a,$80		; Set index to first color + auto-increment
	ldh (<BCPS),a
	ld b,64			; 64=0x40 bytes

 ; Checks if $FF69 is accessible:
 LoopBGPAL:
	WAITBLANK

	; Sets BG Palettes:
	ldi a,(hl)
	ldh (<BCPD),a
	dec b
	jr nz,LoopBGPAL
	ret

 ; **SET SPRITE PALETTES**
 ; Same as before but with the Sprites/OBJ Palette.
 SET_OBJPAL:
	ld a, $80		; Set index to first color + auto-increment
	ldh (<OCPS), a	;
	ld b, 64		; 64=0x40 bytes

 ; Checks if $FF69 is accessible:
 LoopOBJPAL:
	WAITBLANK

	; Sets OBJ Palettes:
	ldi a,(hl)
	ldh (<OCPD),a
	dec b
	jr nz,LoopOBJPAL
	ret
.ENDS
A few things to comment here. Even though some of this is temporary code, it's commented so you can easily follow it. The only missing piece should be WAITBLANK, which is a simple macro I made that waits for V-Blank or H-Blank.
; This waits for V-Blank or H-Blank so both OAM and display RAM are accessible
.MACRO WAITBLANK
	wait\@:
	ldh a,(<STAT)
	bit 1,a
	jr nz,wait\@
.ENDM
Oh, and in case you are curious I got the palette data from my GBC Palette Editor. Now, let's boot the game and see how it looks:
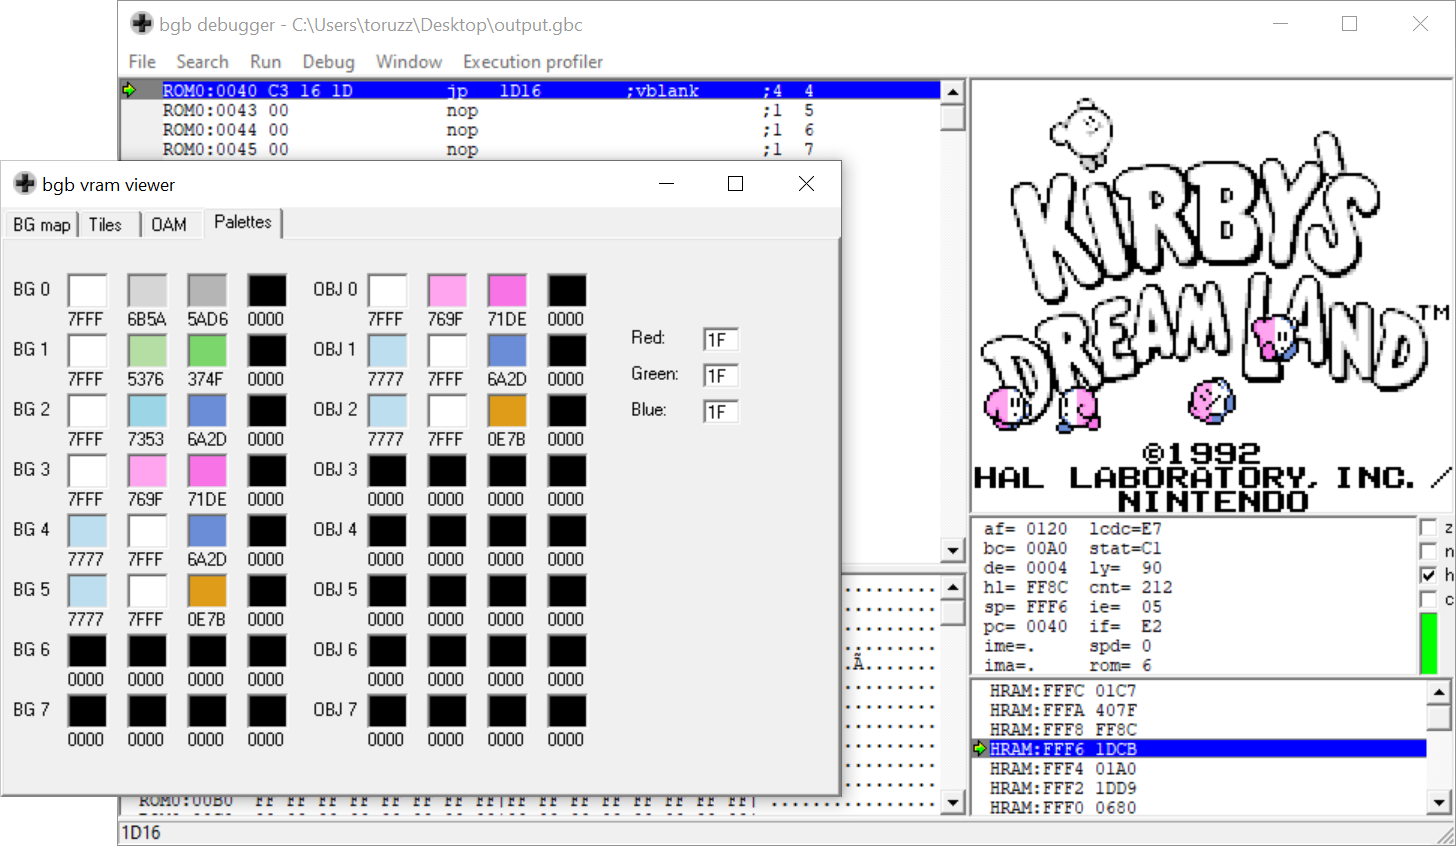
As you can see, we finally loaded the palettes correctly, but the background is still black and white and the sprites are not looking exactly the way we want.
In following posts we'll learn to assign them attributes so we can colorize them in any way we want.
Check out the code so far in GitHub